

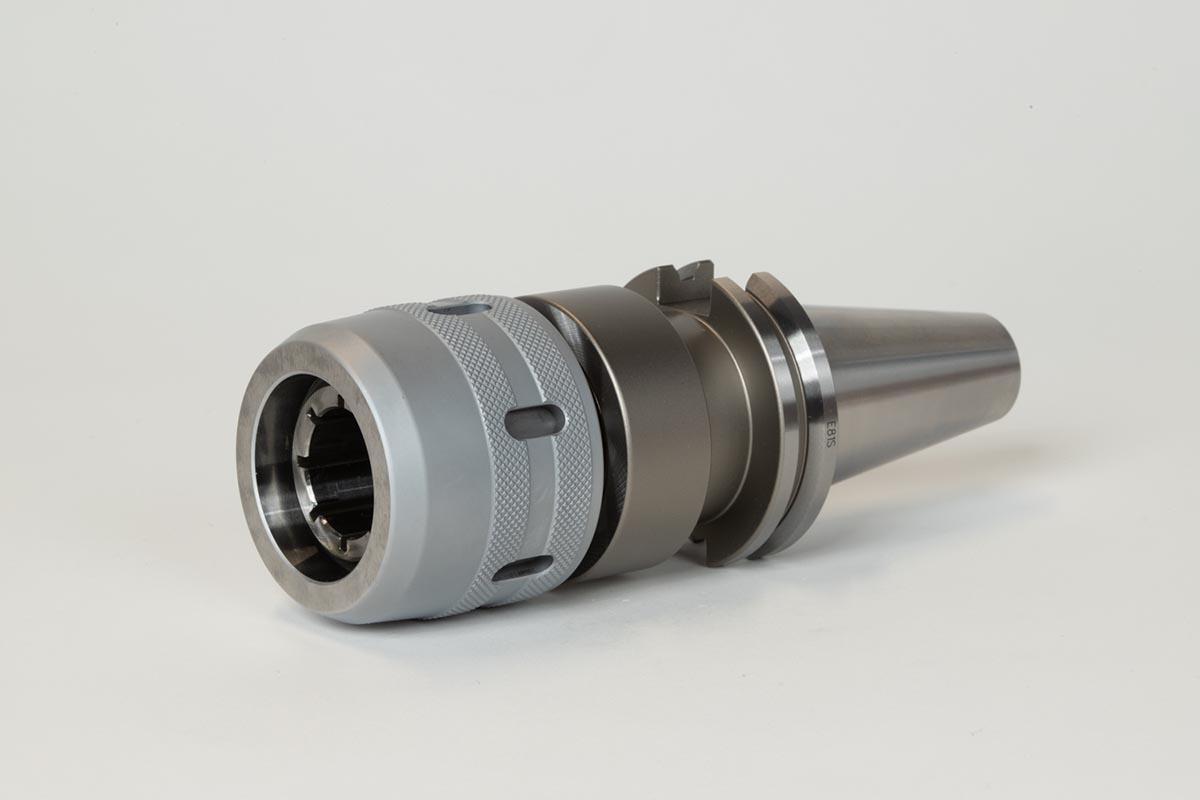
CT40 1" Milling Chuck x 4-1/8" Gage Length, TSC
Part # 04-0067C40-MC1.00-4.13 Milling Chuck


Description
This CAT40 milling chuck has a 1.0 in \ 1" bore diameter and a 4.134" gage length. The chuck accepts precision straight-shank collets (optional) to reduce the bore and hold smaller diameter tools. The simple twist-lock operation provides high grip strength, low runout, and good balance. It is through-tool coolant (TSC) capable, with a 5/8"-11 pull stud/retention knob thread.Download documents
Technical specifications
System of Measurement | Inch - ANSI |
Item | Milling Chuck |
Taper | CT40 |
[ØD] Bore Diameter | 1.0 in \ 1" |
[ØBD] Body Diameter | 2.441 in |
[Ød1] Diameter | 1.75 in |
[GL] Gage Length | 4.134 in |
[BL] Body Length | 3.404 in |
[LSCX] Maximum Clamping Length | 3.15 in |
[OAL] Overall Length | 6.821 in |
Concentricity | 0.0004 in |
Balanced to RPM | 8000 |
Retention Knob Thread Size | 5/8"-11 |
Through Tool Coolant | Yes |
Spindle Drive Slots | Yes |
Weight | 4.8 lbs \ 2.2 kg |
Country of Origin | South Korea |
Technical Images
Enlarge Line Drawing & Specs
Milling Chuck Instructions
Assembly
- Clean the inside of the milling chuck, collet, and tool.
- Insert the appropriate size collet and tool into the milling chuck.
- Tighten using the spanner wrench until the cap contacts the body of the chuck. Full-face contact must occur between the cap and the chuck body.
CAUTION
- Never tighten the milling chuck cap without a tool inside of it — permanent damage will occur.
- Only install smooth shank tooling into the milling chuck. Weldon flats and other side-lock style tooling will not be held with as much force and can cause the bore of the milling chuck to permanently deform.
Tool Removal
- Loosen the cap with the spanner wrench until the tool can be removed.
- Remove the tool.
- Loosen the cap until it’s out and continue to loosen it an additional 1 to 2 turns. This will re-align the bearings and ensure full and accurate clamping the next time the milling chuck is used.
Check out this video of our milling chuck in action!
These stout toolholders bring high grip force, low runout, and great balance characteristics to holding your cutting tools.